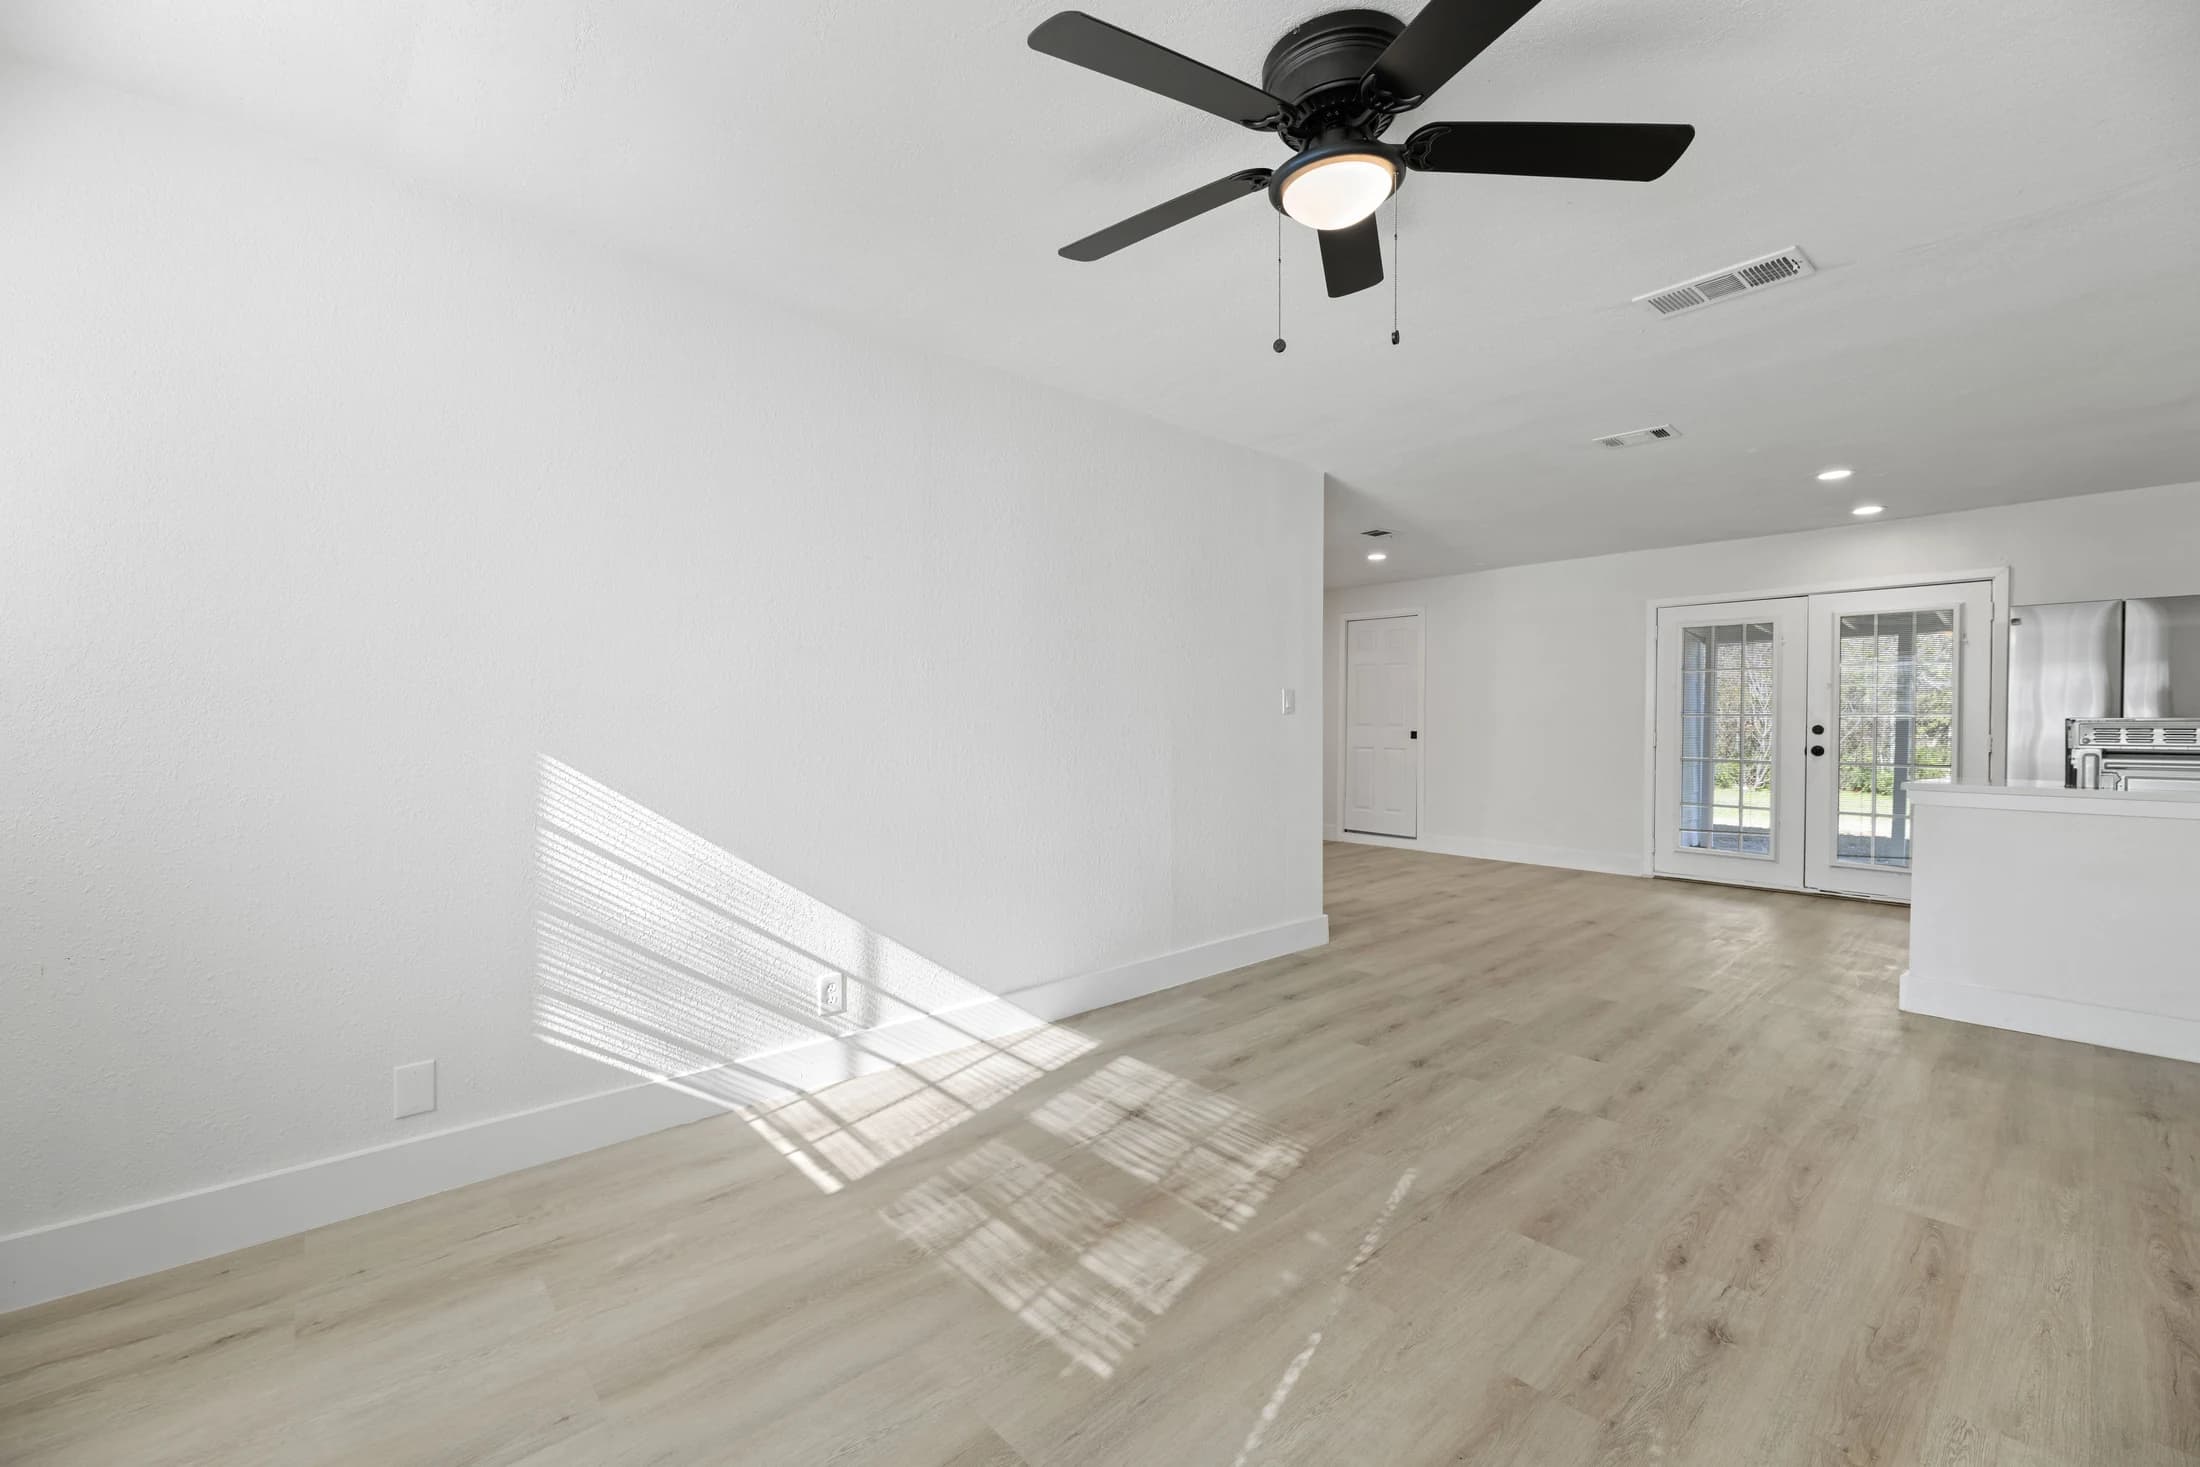
Plan a flooring transition by checking the installed height of both floors, each product’s movement requirements, and the exact place where the materials meet. Then choose a compatible transition detail and coordinate it with doors, cabinets, and appliances. Matching the sample colors is only one part of making the connection work.
1. Give every connection a place on the plan
When a kitchen opens into a living room, its flooring boundary becomes part of the room design. Start by marking what stays and what gets replaced. Label every connection: kitchen to living room, living room to hallway, and any nearby doorway. A kitchen-only upgrade should account for the floor you intend to keep.
Stand at the main entrance and look across the two rooms. A boundary at the end of a cabinet run may feel intentional; another location may divide the walking route awkwardly. Photograph the proposed line from both sides and mark it on a measured plan. Treat that line as a proposal until the installer has checked the assembly and product requirements.
2. Compare installed heights, not loose samples
Two samples with similar thicknesses do not establish that the finished floors will align. Ask for a section sketch showing the retained floor, the proposed finish, and the layers beneath each. Include the specified setting or installation materials, any membrane or approved underlayment, and preparation that affects the result.
Record which dimensions are known and which need verification after removal. If the projected surfaces differ in height, resolve the detail before the flooring order becomes final. Also identify who is responsible for checking the connection: a material supplier’s color recommendation is not the same as an installer approving the completed assembly.
3. Choose a transition for its actual job
A same-height transition and a reducer solve different problems. Schluter’s U.S. floor-profile guide, for example, describes RENO-T for existing hard surfaces at the same height and RENO-U for tile meeting a lower surface. Some profiles anchor beneath the tile; others are intended for retrofit work. Those distinctions affect both selection and installation timing.
Ask the installer to identify the proposed profile, its size, and how it connects to both flooring products. Review the visible width and edge detail as well as the finish. If a flush appearance is important, say so early and have the team establish whether the complete assembly can support it. Do not assume a decorative strip resolves every height or movement condition.
Schluter U.S.: floor profiles, same-height and different-height transitions (PDF)
4. Keep movement and cabinetry in the same conversation
A floating floor needs the movement provisions specified for that exact product. A tidy-looking connection should not cancel those requirements. Ask how the transition is secured, where movement space remains, and whether the selected floor requires a separation at a particular opening or installation extent.
Manufacturer instructions can also change how flooring and fixed cabinets are coordinated. Shaw’s COREtec Scratchless guide, which applies only to that product family, specifies perimeter expansion space and a particular adhered treatment where cabinets or islands sit above the flooring. That is a product-specific example, not permission to use the same method with every vinyl floor. Keep the current instructions for your actual model with the approved plan.
5. Walk through a kitchen-only example
Imagine a Dallas homeowner keeping the living-room wood floor while replacing the kitchen tile. This is a hypothetical planning example, not a completed RIQOL project. The initial choice is a tile sample that looks right beside the wood. The next decision is whether the proposed kitchen assembly meets the retained wood at the intended height.
The team checks the doorway, the proposed material boundary, cabinet bases, and the dishwasher opening. They then compare a compatible transition with any feasible assembly adjustment. Before approval, the homeowner sees both samples and the proposed profile together. The decision record names the selected detail, remaining measurement, and person responsible for closing it.
6. Approve the detail before installation starts
For your Dallas–Fort Worth flooring project, put each connection on a short approval sheet. This makes a small, easily overlooked detail visible to everyone working across the rooms. Bring the samples together in your home’s daylight and evening lighting, then review the selected finish from standing height.
Use the checklist below before the relevant materials are ordered. Anything unresolved should have an owner and a next step. Keep the final product references and care instructions with the project handover information.
- Both flooring products and installation methods are identified.
- The finished heights and any remaining measurements are recorded.
- The transition location, profile, finish, and fastening detail are approved.
- Movement requirements are coordinated with the selected products.
- Doors, fixed cabinets, and appliance access have been reviewed.
- The scope assigns ordering, preparation, installation, and cleanup.
A few more answers
What is the difference between a T-molding and a reducer?
A same-height transition connects compatible surfaces at a similar finished elevation; a reducer bridges a specified height difference. Product names alone do not establish suitability. Confirm the exact profile, flooring compatibility, and installation detail.
Can the kitchen and living room use different flooring?
Yes. Plan the boundary, installed heights, product requirements, and visual relationship together. Keeping one existing floor makes an accurate connection detail especially useful because the retained surface constrains the new work.
Does every doorway need a transition strip?
There is no universal answer for every flooring product and layout. Check the manufacturer’s requirements for the exact model and installation method, including movement provisions and room connections, before approving a continuous run.
Further reading
Explore the next step
Learn about flooring installation, or find your DFW service area.
This planning guide was prepared with AI assistance. It provides general homeowner information, not a property inspection, quote, or project-specific specification. Product instructions and the assessed conditions should guide actual work.